How to Clean Dog Ears Safely at Home: Step-by-Step Guide for Pet Owners
Do you remember that moment when your dog looks at you with complete trust? That bond is truly special. Keeping your pet healthy is the best way to show your love. Taking care of their hygiene is a big part of that.
Your pet’s comfort should always remain your top priority. Ever wondered how to clean dog ears without stressing them out? It’s easier than you think, with a little patience and the right tools.
By following a gentle step-by-step guide for ear cleaning in dogs, you can keep them clean and strengthen your bond. We’ll show you how to check for irritation, apply solutions right, and when to see a vet. Let’s keep your furry friend happy, healthy, and itch-free.
Table of Contents
Why Regular Dog Ear Cleaning Matters and When It Is Needed
Keeping your dog’s ears clean is crucial for their health. It prevents debris buildup that can cause irritation or infection. Regular care keeps your pet comfortable and happy.
How Proper Dog Ear Hygiene Supports Your Dog’s Health
Removing wax and moisture stops bacteria and yeast from growing. By following tips for maintaining clean dog ears, you protect your dog from ear problems. This keeps the ear canal balanced and promotes health.
Signs Your Dog’s Ears May Need Cleaning
Watch for signs of ear discomfort in your dog. Look for:
- A bad smell from the ear.
- Head shaking or tilting.
- Excessive ear scratching or rubbing.
- Dark, waxy, or crusty discharge.
How Ear Shape, Hair, Swimming, and Allergies Affect Wax Buildup
Some traits and habits affect wax buildup. Dogs with floppy ears have less airflow, trapping moisture. Excess hair in the ear also blocks air and traps debris.
Swimming dogs may have water trapped in their ears, perfect for bacteria. Dogs with allergies often have more wax due to inflammation. Knowing these factors helps with proper dog ear hygiene.
| Factor | Impact on Ear Health | Risk Level |
|---|---|---|
| Floppy Ears | Reduced airflow | Moderate |
| Frequent Swimming | Moisture retention | High |
| Allergies | Increased wax/inflammation | High |
| Hairy Canals | Trapped debris | Moderate |
When Routine Cleaning Could Make an Ear Problem Worse
Too much cleaning can harm your dog’s ears. Harsh chemicals or over-cleaning can remove protective oils. If your dog shows pain or has red, raw skin, stop cleaning. Seek vet advice to avoid further irritation.
How to Clean Dogs Ears Safely at Home: What to Check First
Learning how to clean dogs ears safely at home starts with a simple step. Before you use any cleaning solution, observe your pet’s ears first. This step is crucial to avoid hurting or irritating your dog.
Inspect the Outer Ear Before Applying Any Product
Begin by gently lifting the ear flap to see the skin and ear canal entrance. Look for any color or texture changes from what’s normal for your dog. Always ensure your dog is calm before starting to avoid any sudden movements.
Check for Redness, Swelling, Odor, Discharge, or Excessive Wax
While checking, watch for signs of inflammation. Redness, swelling, or a strong, bad smell are warning signs. Also, note any unusual discharge or dark, crusty wax that looks different from usual ear debris.
Know When to Stop Home Care and Contact Your Veterinarian
If you see any warning signs, stop cleaning. Trying to clean an already damaged ear can cause pain or push debris deeper. If unsure, call your vet for advice on how to clean dogs ears safely.
Warning Signs That Require Prompt Veterinary Attention
Certain symptoms mean your dog needs a vet, not just a cleaning. Look for persistent head tilting, loss of balance, or severe pain when touching the ear. These signs often point to serious infections or neurological problems that need a vet’s exam and tests.
Why Painful or Infected Ears Should Not Be Cleaned Without Guidance
Cleaning an infected ear can be very painful for your dog. If the ear skin is raw or broken, cleaning solutions can sting or cause more inflammation. Always check with your vet to make sure the cleaning method is right for your dog’s condition.
| Observation | Healthy Ear | Potential Issue |
|---|---|---|
| Skin Color | Pale pink | Bright red or inflamed |
| Odor | None or mild | Strong, yeasty, or foul |
| Discharge | Minimal, light wax | Thick, dark, or pus-like |
| Behavior | Calm and relaxed | Shaking head or pawing |
Gather Dog Ear Cleaning Products and Prepare Your Supplies
Before starting, it’s key to have the right dog ear cleaning products ready. This makes the process safer for your pet. A prepared area helps keep your dog calm and comfortable.
Choose a Veterinarian-Approved Ear-Cleaning Solution
Choose a solution made just for dog ears. These products are safe because they match the ear’s pH level. Your vet’s advice is crucial to avoid harm.
Collect Cotton Balls, Gauze, Towels, and Treats
Working with a moving pet needs quick action. Get these items ready for a smooth process:
- Soft cotton balls or sterile gauze pads for wiping.
- A clean, absorbent towel to catch any excess liquid.
- High-value treats to reward your dog for their cooperation.
Soft materials are better for cleaning without hurting your dog’s ears. Positive reinforcement with treats makes the cleaning a good experience for your dog.
Products and Tools to Avoid
Not all household items are safe for your dog’s ears. Human products can be too harsh.
Why Cotton Swabs Should Not Go Deep Into the Ear Canal
Don’t put cotton swabs or Q-tips in your dog’s ear canal. They can push wax deeper, causing pain or damage. Only use cotton balls on the outer ear.
Why Alcohol, Hydrogen Peroxide, Vinegar, and Essential Oils Can Irritate Ears
Stay away from household chemicals like alcohol and hydrogen peroxide unless your vet says it’s okay. They can sting and dry out the ears. Essential oils are too strong and can cause allergic reactions or burns.
Prepare Your Dog and the Cleaning Area for a Calm Session
Getting ready is key to maintaining clean dog ears without stressing them out. A calm space helps your pet feel safe and focused.
Select a Quiet, Easy-to-Clean Location
Find a small, quiet spot like a bathroom or laundry room. These places are great because they’re easy to clean if your dog shakes.
Make sure the room is bright so you can see inside the ear. A quiet spot helps your dog concentrate on you, not outside noises.
Help Your Dog Become Comfortable With Ear Handling
Start by gently touching your dog’s ears when they’re calm. Lift the ear flap and stroke it softly, then let go.
This helps build trust and makes cleaning less scary. If your dog pulls away, stop and try again later with gentle touches.
Use Positive Reinforcement Before, During, and After Cleaning
Positive reinforcement is a top tip for maintaining clean dog ears. Give treats to make cleaning a positive experience.
Give treats for staying still, even for a short time. Keep sessions short to avoid overwhelming your pet.
How to Work With a Nervous, Wiggly, or Fearful Dog
If your dog is anxious, clean one ear at a time. Clean one ear in the morning and the other in the evening to keep things calm.
Speak calmly and reassuringly during cleaning. If they get too wiggly, take a break and give them a favorite toy or chew.
When a Second Person or Professional Groomer May Be Safer
Having a second person can help hold your dog while you clean. This adds comfort and stability, making the process safer.
If your dog is aggressive or extremely fearful, see a professional groomer or vet. They can handle your dog safely and efficiently.
| Strategy | Benefit | Goal |
|---|---|---|
| Quiet Location | Reduces distractions | Focus |
| Gradual Handling | Builds trust | Cooperation |
| Positive Rewards | Creates association | Calmness |
| Professional Help | Ensures safety | Proper care |
Follow These Steps for Cleaning Your Dog’s Ears
Once your dog is calm and your supplies are ready, you can start the gentle process of cleaning your dog’s ears. Taking your time ensures that the experience remains positive for both you and your pet.
Apply the Ear-Cleaning Solution as Directed
How Much Solution to Use and How to Prevent Contamination
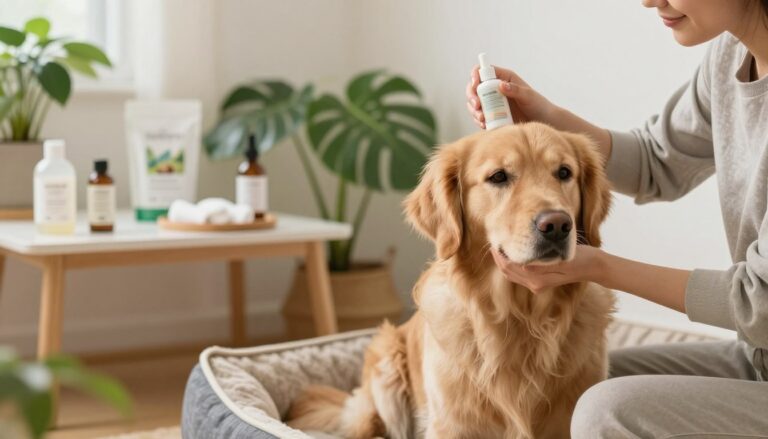
Always refer to the product label or your veterinarian’s specific instructions regarding the amount of solution to use. Gently lift the ear flap and squeeze the recommended amount into the ear canal.
To prevent contamination, ensure the tip of the bottle does not touch the ear tissue or any debris. Keeping the applicator clean is vital to avoid introducing bacteria back into the bottle.
Massage the Base of the Ear to Loosen Debris
Recognizing the Gentle Squishing Sound of an Effective Massage
After applying the solution, fold the ear flap down and gently massage the base of the ear. You should hear a gentle squishing sound, which indicates that the liquid is successfully breaking up wax and debris deep within the canal.
If your dog shows signs of pain, panic, or intense resistance, stop immediately. Your dog’s comfort is the priority during this process.
Let Your Dog Shake Safely
Protecting Your Face, Clothing, and Cleaning Area From Debris
Allow your dog to shake their head freely after the massage. This natural movement helps bring loosened wax and fluid up from the canal to the outer ear.
To protect yourself and your home, perform this step in an easy-to-clean area like a bathroom or outdoors. You may also want to hold a towel near your dog to catch any flying debris.
Wipe Away Loosened Wax From the Ear Flap and Opening
How to Use Cotton Balls or Gauze Without Entering Too Deeply
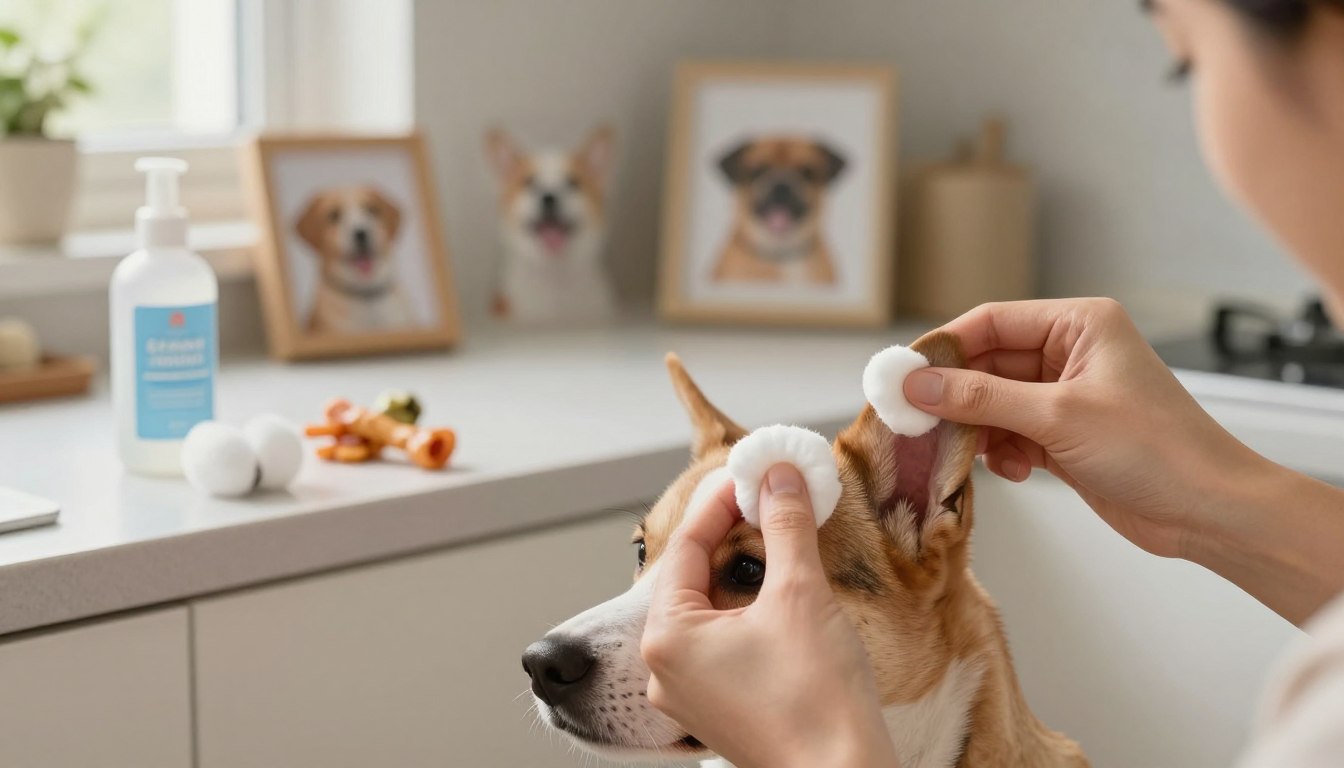
Use a clean cotton ball or piece of gauze to wipe away the debris that has surfaced. Never insert cotton swabs or your fingers deep into the ear canal, as this can cause injury or push wax further down.
Simply wipe the visible parts of the ear flap and the entrance to the canal. If the cotton ball becomes very dirty, switch to a fresh one to avoid spreading the wax back into the ear.
Dry the Outer Ear and Reward Your Dog
Checking That Moisture and Residue Are Not Trapped in Skin Folds
After cleaning your dog’s ears, use a dry cotton ball to gently pat the area dry. Pay close attention to the skin folds, as trapped moisture can lead to irritation or bacterial growth.
Finally, offer your dog a treat and plenty of praise for their cooperation. Positive reinforcement makes the next session much easier for everyone involved.
Adapt Dog Ear Cleaning Techniques to Your Dog’s Ear Type
Every dog has its own ear shape and hair growth. This means you need to adjust your dog ear cleaning techniques for your dog. A one-size-fits-all approach doesn’t work well. It’s important to watch what your pet needs for their health.
Cleaning Floppy Ears With Limited Airflow
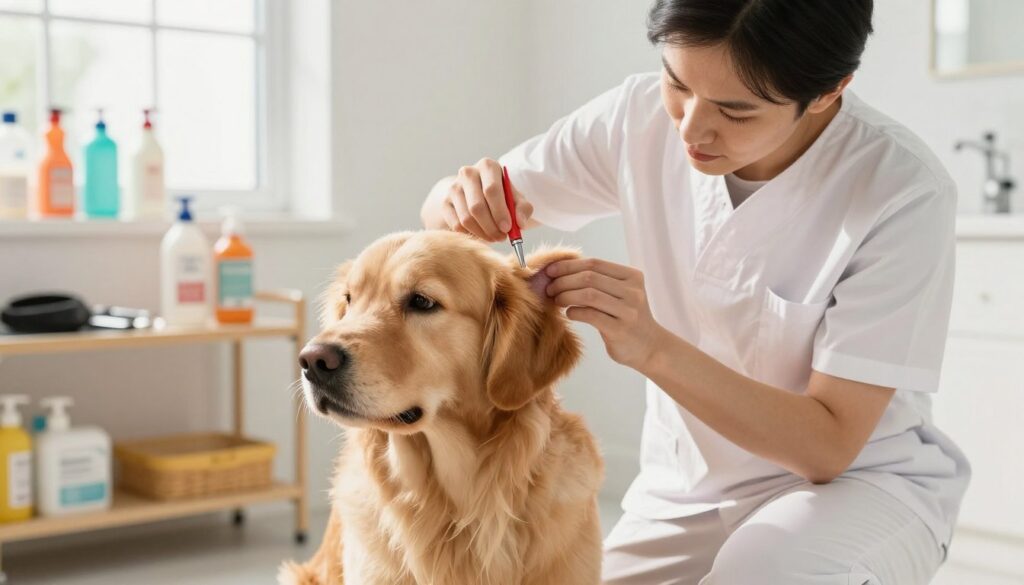
Dogs with long ears often have trouble with moisture and heat. This is because their ears trap these things. Make sure to clean the underside of the ear flap well.
When cleaning, lift the ear flap fully. This lets the cleaning solution get to the ear canal.
Managing Hairy Ear Canals Without Plucking or Overhandling
Some dogs have a lot of hair in their ears. This hair can trap wax and block air. Don’t try to pull out this hair yourself, unless a vet tells you to.
Instead, gently wipe the outside of the ear. This keeps the area clean without hurting the inside skin.
Adjusting Care for Dogs That Swim or Get Wet Frequently
If your dog loves swimming or gets wet a lot, drying their ears is key. Water in the ear can lead to bacteria. Always dry the outer ear well after swimming.
Using these dog ear cleaning techniques after swimming helps keep the ears healthy. It stops problems caused by moisture.
Following Breed-Specific Advice From Your Veterinarian
Your vet knows the best way to clean your dog’s ears. They can tell you how often to clean based on your dog’s ears and coat. Always consult your vet before starting a new ear cleaning routine. This ensures you’re using the safest methods for your dog.
Avoid Common Mistakes During At-Home Ear Cleaning
Steer clear of these common mistakes to avoid discomfort during grooming. Following the best practices for cleaning dog ears is key. But knowing what to avoid is just as important for your pet’s safety. Small mistakes can cause irritation or injury if not careful.
Do Not Force the Bottle, Cotton, or Your Fingers Into the Ear Canal
The ear canal is delicate and L-shaped, easily damaged by foreign objects. Never push the tip of a cleaning bottle, cotton swabs, or your fingers deep into the canal. Forcing items inside can push debris deeper or potentially rupture the eardrum.
Do Not Clean Too Often or Scrub Away Protective Wax
While keeping ears clean is important, over-cleaning can harm. It can strip away natural oils that protect the ear. Excessive scrubbing can also create an environment where bacteria thrive. Stick to a schedule that matches your dog’s specific needs rather than cleaning daily.
Do Not Share Dirty Applicators Between Ears
Always use a fresh cotton ball or gauze pad for each ear. Sharing a dirty applicator can easily transfer yeast, bacteria, or mites from an infected ear to a healthy one. This simple habit is one of the most important best practices for cleaning dog ears to prevent cross-contamination.
“The goal of ear cleaning is to maintain a healthy environment, not to achieve a sterile, bone-dry canal. Gentle, consistent care is always superior to aggressive, infrequent scrubbing.”
Do Not Continue if Your Dog Shows Pain, Panic, or Sudden Sensitivity
If your dog shows signs of extreme distress, such as yelping, biting, or trying to escape, stop immediately. Forcing a dog to endure a painful cleaning session will only increase their anxiety for future grooming. It is better to pause and consult a professional if your dog seems to be in pain.
Do Not Use Leftover Prescription Medication Without Veterinary Direction
Never reuse old ear drops from a previous illness without checking with your veterinarian. Medications are often specific to a certain type of infection or diagnosis. Using the wrong product can mask symptoms or worsen an underlying condition.
| Action | Recommended Approach | Risk of Mistake |
|---|---|---|
| Tool Usage | Use soft gauze on the outer flap | Potential eardrum damage |
| Cleaning Frequency | Follow vet-recommended schedule | Skin irritation and dryness |
| Applicator Use | Use separate pads for each ear | Spreading infection/bacteria |
| Medication | Only use current prescriptions | Worsening of undiagnosed issues |
By following these best practices for cleaning dog ears, your grooming routine can be a positive experience. Always prioritize your dog’s comfort and safety above all else.
Recognize Ear Problems That Need Veterinary Care
Knowing the difference between minor wax buildup and a serious issue can help your dog avoid pain. While regular care is good, some symptoms mean your pet needs a vet, not just home remedies.
Distinguish Normal Wax From Possible Infection or Ear Disease
Healthy ear wax is light tan, yellow, or slightly brown. It smells mild. If the color, consistency, or smell changes suddenly, stop cleaning.
Symptoms Associated With Bacterial or Yeast Infections
Bacterial and yeast infections show as thick, dark discharge like coffee grounds. The smell is strong and yeasty. Red, inflamed, or crusty skin inside the ear is a sign of infection.
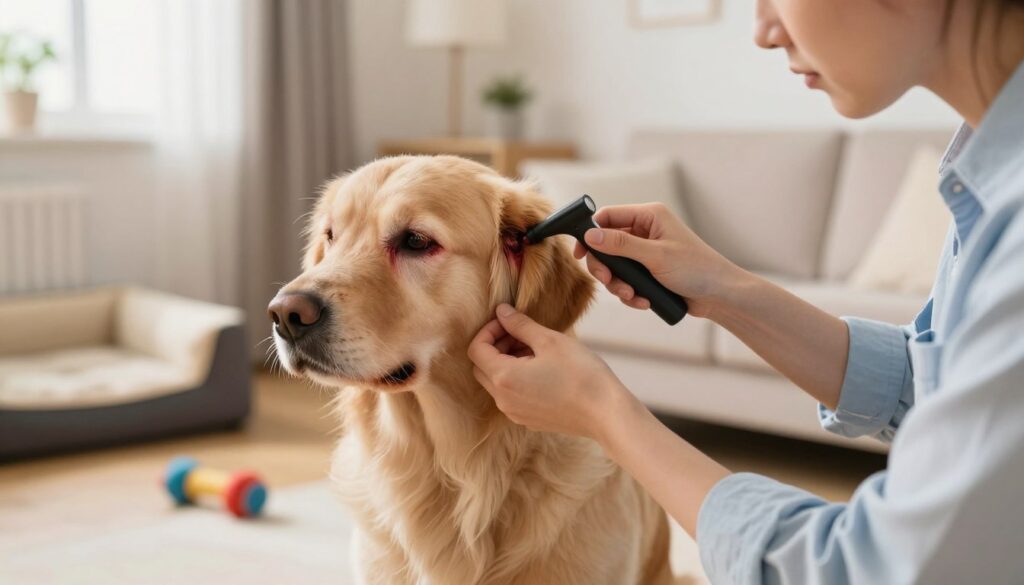
Ear mites cause dry, dark debris. Excessive scratching or head shaking might mean an allergic reaction or something stuck in the ear. Bleeding, swelling, or trauma to the ear flap is an emergency.
Know When Ear Pain or Balance Changes Are Urgent
Some symptoms are more than just irritation. They suggest problems with the inner ear or nervous system. These are medical emergencies needing quick vet care.
Head Tilting, Loss of Balance, Vomiting, or Facial Changes
Head tilting, stumbling, or looking dizzy might mean ear problems. Sudden vomiting or droopy eyelid or lip are serious signs. Don’t clean the ear if you see these symptoms, as it could make things worse.
Understand Why a Veterinarian May Need to Examine and Test the Ear
A vet uses an otoscope to see inside the ear canal. They can find issues you can’t see. This ensures treatment is safe and effective.
How Cytology and Other Tests Guide Safe Treatment
The vet might do cytology to examine ear debris. This test shows if it’s bacteria, yeast, or mites. Knowing this lets the vet give the right medicine. The wrong treatment can make things worse.
What to Do After Professional Treatment
Follow your vet’s treatment plan carefully. This includes using all the medicine they prescribe. Always clean your dog’s ears as recommended to keep them healthy during recovery.
Create a Safe Ear-Care Routine and Consider Professional Cleaning
Your dog’s needs determine how often to clean their ears. Tailor your cleaning to their ear type, activity, and health history. This keeps their ears healthy and irritation-free.
Set a Cleaning Schedule Based on Your Dog’s Needs
Dogs need different ear care schedules. Dogs with long ears might need weekly cleaning. Dogs with short ears might only need a monthly check. Consult your veterinarian to find the right schedule for your dog.
Monitor Ear Odor, Wax, Moisture, and Comfort Between Cleanings
Watch your dog daily for signs of ear trouble. Look for:
- Frequent head shaking or tilting.
- Excessive scratching at the ear base.
- A noticeable, unpleasant odor.
- Redness or swelling inside the ear flap.
If you see these signs, stop cleaning and get advice. Early action can prevent infections.
Pair Ear Care With Bathing, Swimming, Grooming, and Allergy Management
Make ear care part of your pet routine. Check ears after swimming or baths. If your dog has allergies, clean ears more often in pollen seasons.
When to Use Professional Dog Ear Cleaning Services
Home care might not be enough for some dogs. Professional dog ear cleaning services offer a deeper clean. They’re great for anxious dogs or those with chronic issues.
Situations That Call for a Veterinarian or Experienced Groomer
Seek help if your dog shows extreme pain or signs of disease. Professionals can handle tough dogs and use special tools for deep cleaning.
Questions to Ask Before Scheduling Professional Ear Care
Make sure the provider is right for your dog. Ask these questions to check their qualifications:
- What are your credentials and experience with ear care?
- What specific products do you use for cleaning?
- How do you handle dogs that show signs of fear or aggression?
- What is your protocol if you discover signs of infection during the cleaning?
- Do you provide instructions for follow-up care at home?
Conclusion
Learning how to clean your dog’s ears is crucial for pet owners. It keeps your furry friend comfortable and healthy. Always focus on your dog’s comfort, not how fast you clean their ears.
Start by carefully checking their ears. Never use cotton swabs or fingers too deep. Instead, use products like Virbac Epi-Otic or Zymox to keep their ears clean. If your dog shows pain or resistance, stop right away.
How often you clean your dog’s ears depends on their breed, swimming, and allergies. Watch for any sudden changes in behavior or smell. These could mean it’s time for a vet visit.
Don’t use leftover ear drops without your vet’s okay. Getting professional advice helps treat infections properly. By keeping up with ear care, you ensure your dog stays happy and healthy for a long time.
## FAQ
### Q: How often should I be cleaning your dog’s ears to maintain proper health?
A: Cleaning your dog’s ears depends on their breed, activity level, and ear shape. Most dogs need a monthly cleaning. But, dogs with floppy ears or those who swim a lot might need weekly cleaning. Watch for wax, moisture, or odor, but don’t over-clean as it can irritate the ears.
### Q: What are the best dog ear cleaning products for safe use at home?
A: Use vet-approved ear cleaning products, not household items. Brands like Virbac Epi-Otic Advanced or Zymox Ear Cleanser are safe. Avoid alcohol, hydrogen peroxide, or vinegar as they can hurt the ear’s delicate skin.
### Q: Can you provide a brief step-by-step guide for ear cleaning in dogs?
A: Start by checking for redness or discharge. Gently fill the ear canal with vet-approved solution. Massage the ear base for 30 seconds until you hear a “squishing” sound.
Let your dog shake their head to bring wax to the surface. Then, use a clean cotton ball or gauze to wipe away visible debris.
### Q: What are the most effective dog ear cleaning techniques for a wiggly or nervous pet?
A: For a nervous dog, use positive reinforcement with treats like Peanut Butter or Zuke’s Mini Trees. Get them comfortable with ear handling before cleaning. If they’re wiggly, have someone steady them or use a “lick mat” to distract them.
### Q: What are the best practices for cleaning dog ears that are prone to infections?
A: Keep the environment dry and clean. Use a drying cleanser like Nutri-Vet Ear Cleanse after swimming or bathing. If your dog has allergies, work with your vet to find triggers, as allergies can lead to infections.
### Q: What are some essential tips for maintaining clean dog ears between deep cleanings?
A: Do a “sniff test” and visual inspection once a week. Healthy ears are pale pink, odorless, and free of discharge. If the outer flap has a light dusting, wipe it with a damp gauze pad.
### Q: When should I skip home care and seek professional dog ear cleaning services?
A: Seek professional help if your dog shows pain, like yelping, or has a foul odor. If the ear canal is swollen or your dog is tilting their head, don’t clean at home. These signs need a vet’s exam to ensure the eardrum is intact.
### Q: Why is it dangerous to use cotton swabs deep inside the ear canal?
A: Cotton swabs (Q-tips) are dangerous deep inside the ear. A dog’s ear is shaped like an “L.” Inserting a swab too far can pack debris against the eardrum or rupture it. Only clean the parts of the ear you can see clearly with cotton balls or gauze.